We offer a wide collection of free, high-quality printable coloring pages for kids and adults. From cute animals to intricate mandalas, our designs bring creativity and relaxation to everyone. Download, print, and start coloring today!
Hi everyone! I’m Sophia, and if you’re anything like me, you know there’s something truly heartwarming about a newborn lamb. They represent innocence, spring, and the gentle side of farm life.
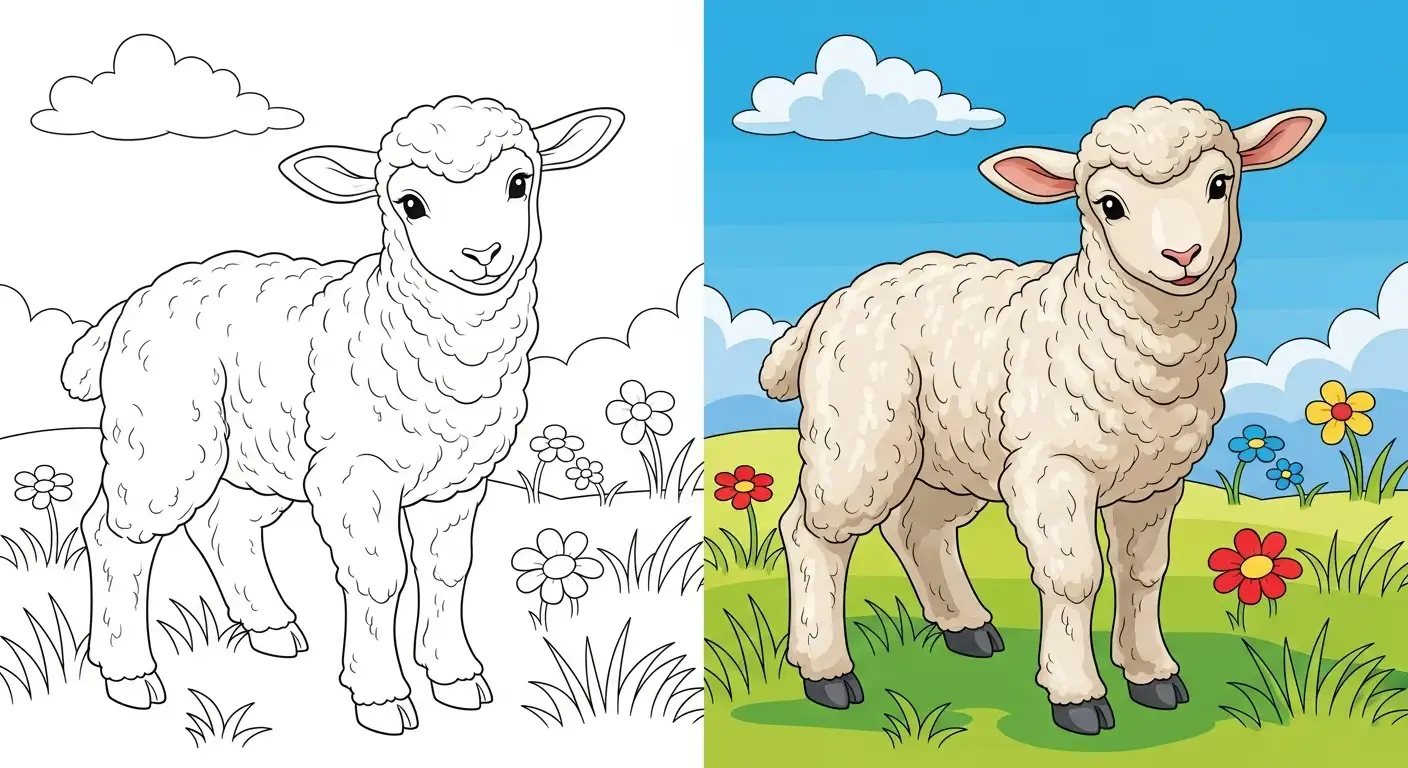
Today, we aren’t just looking for any printable; we’re diving into the artistry required to bring a realistic lamb coloring page to life. We’re going beyond flat colors and embracing texture, shadow, and tone to create a masterpiece that looks like it just stepped out of the meadow.
Whether you’re a parent using these pages for an educational project, or an adult seeking a mindful coloring escape, you’re in the right place. Grab your best colored pencils—we’re going to talk about wool!
Your Premium Realistic Lamb Coloring Page Download
I know you came here for the printable, so I won’t make you scroll! My design philosophy centers around high-quality, high-detail pages that offer a genuine artistic challenge. This printable is designed specifically to allow for deep shading and texture work, focusing on the fuzzy definition of new wool.
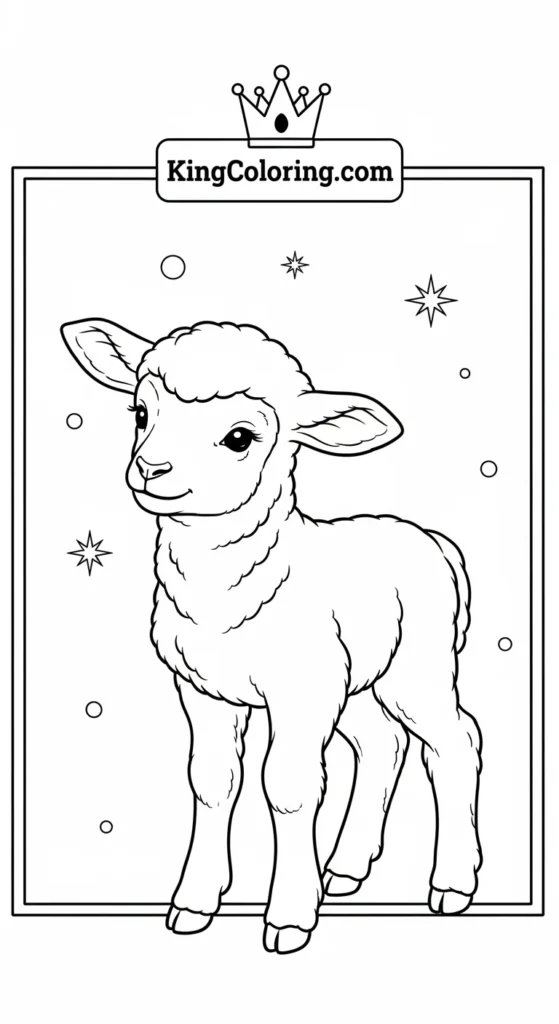
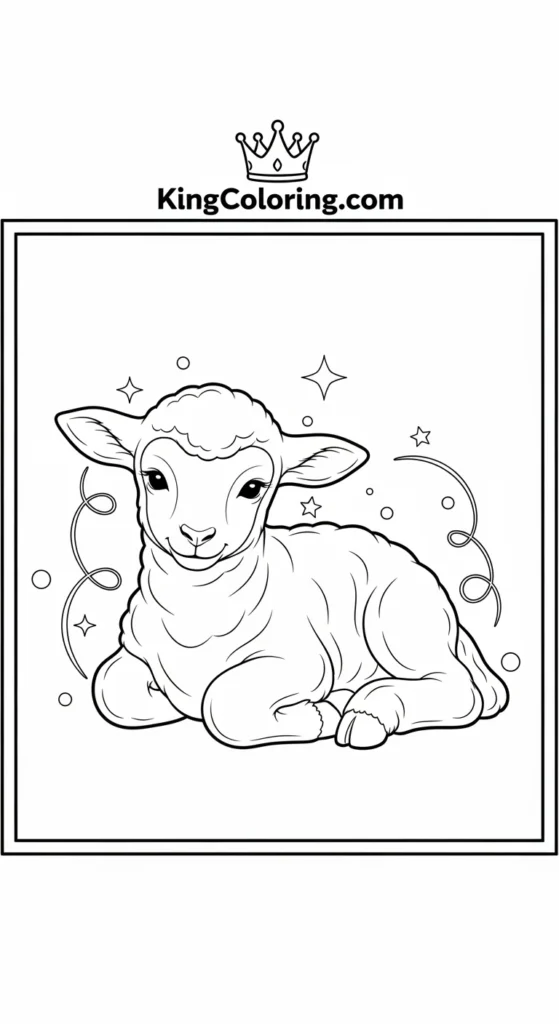
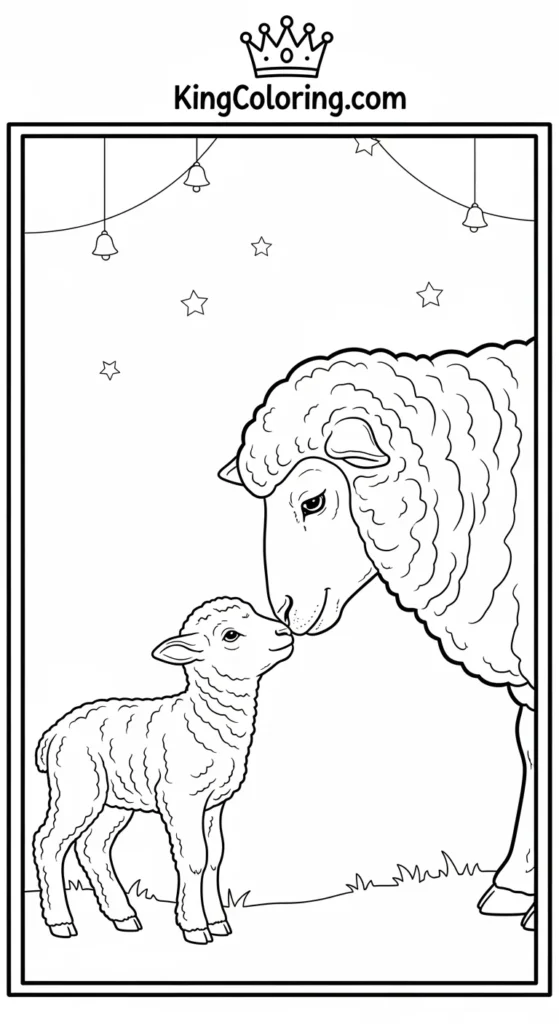
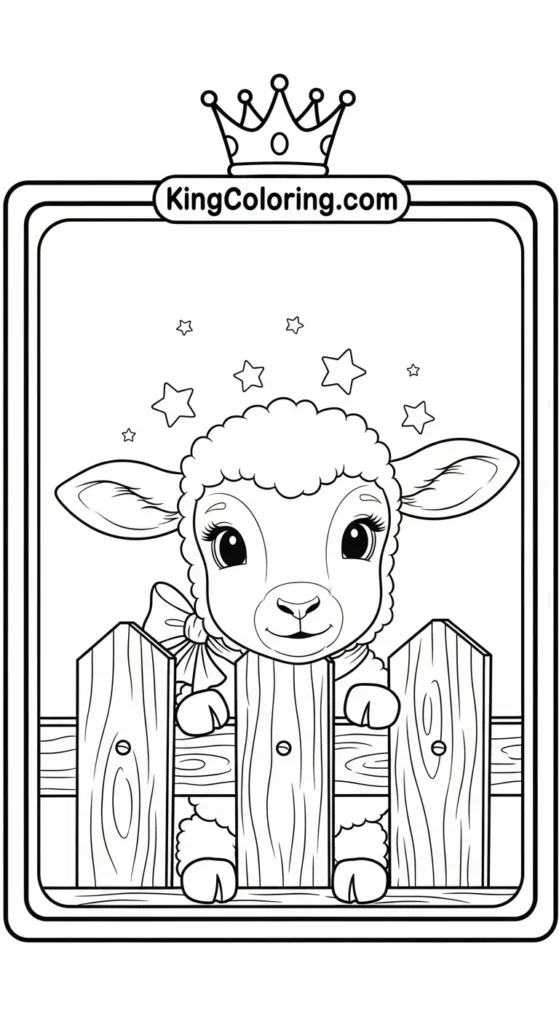

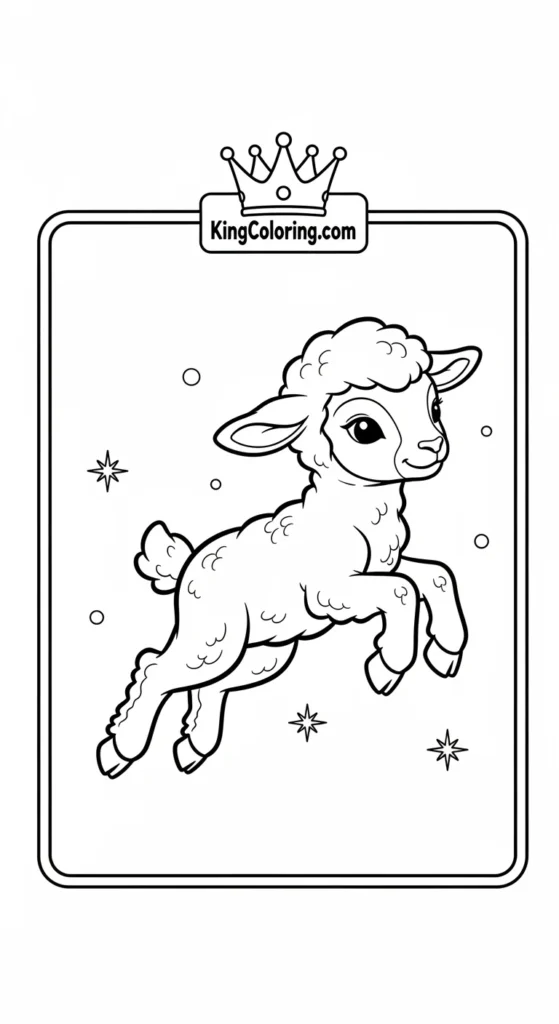
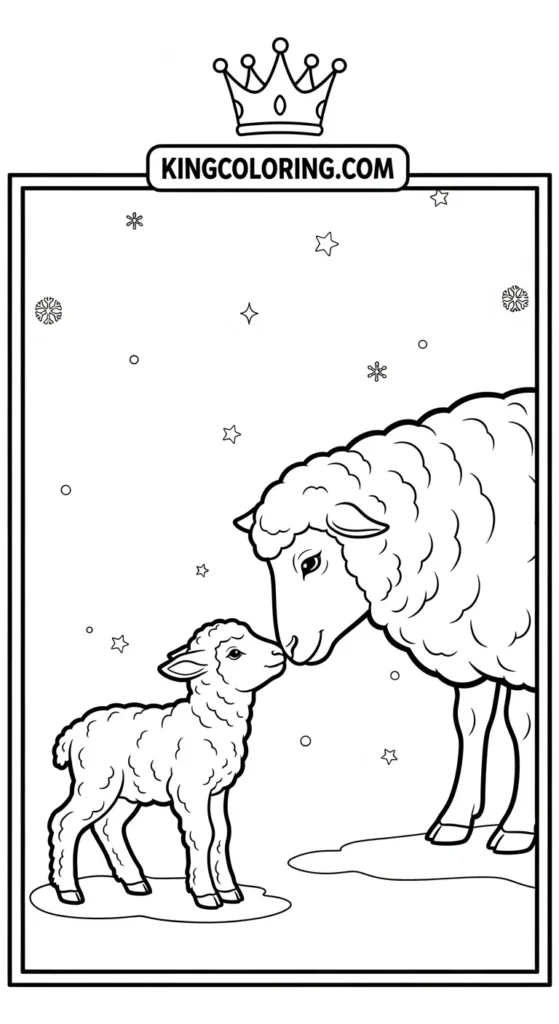
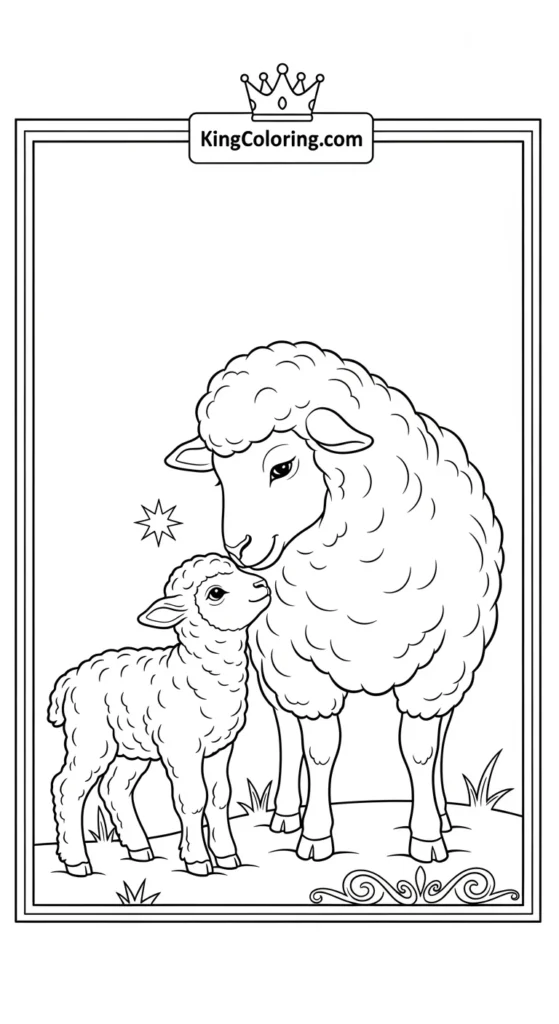
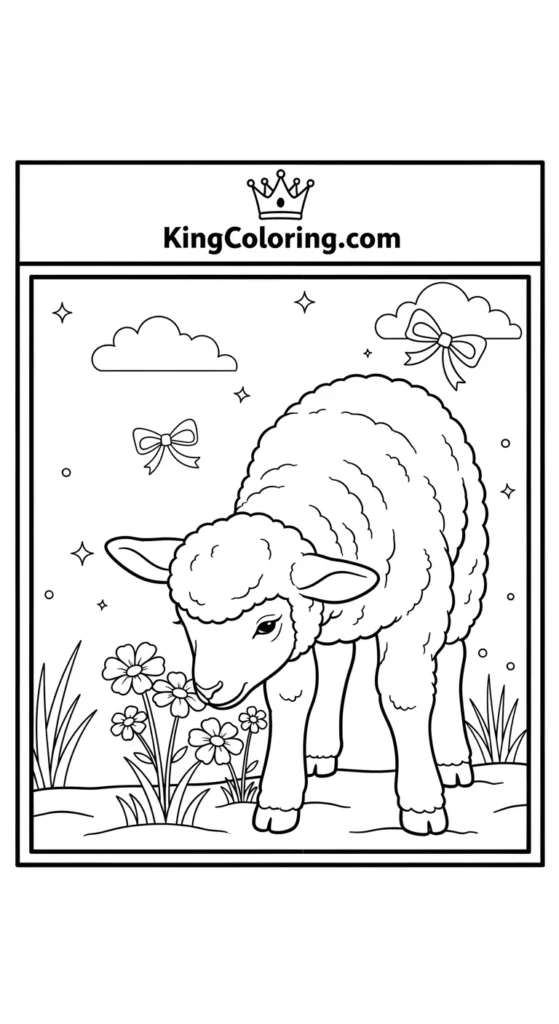
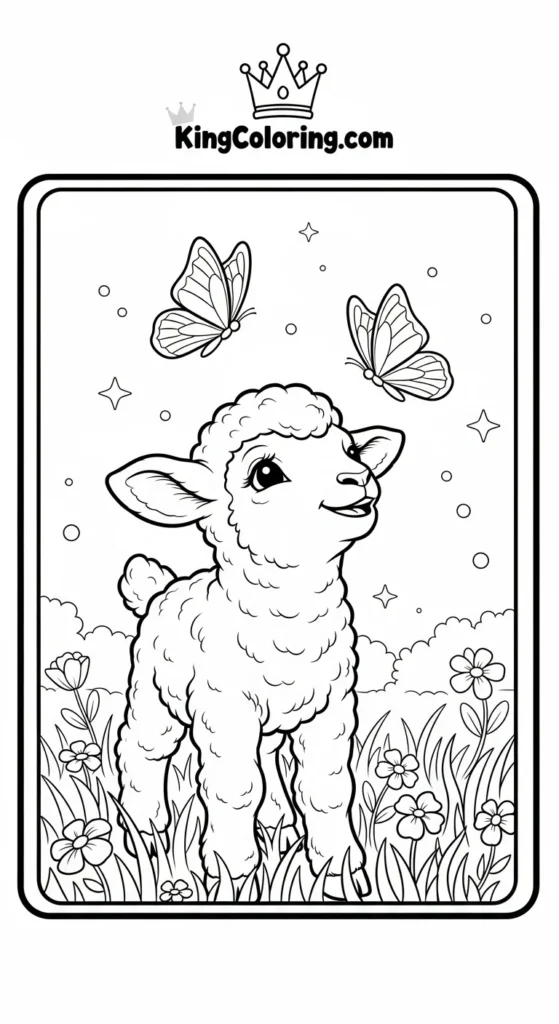

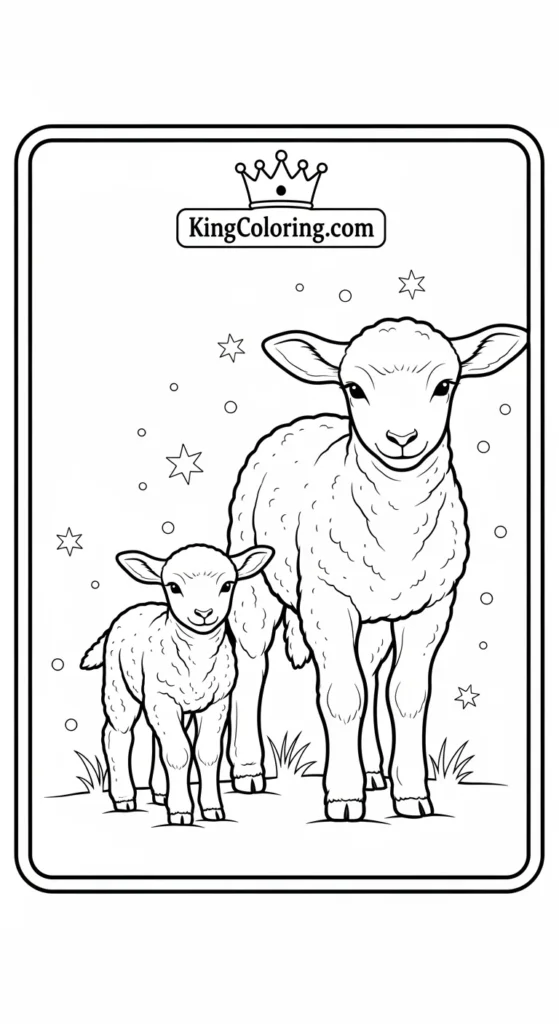
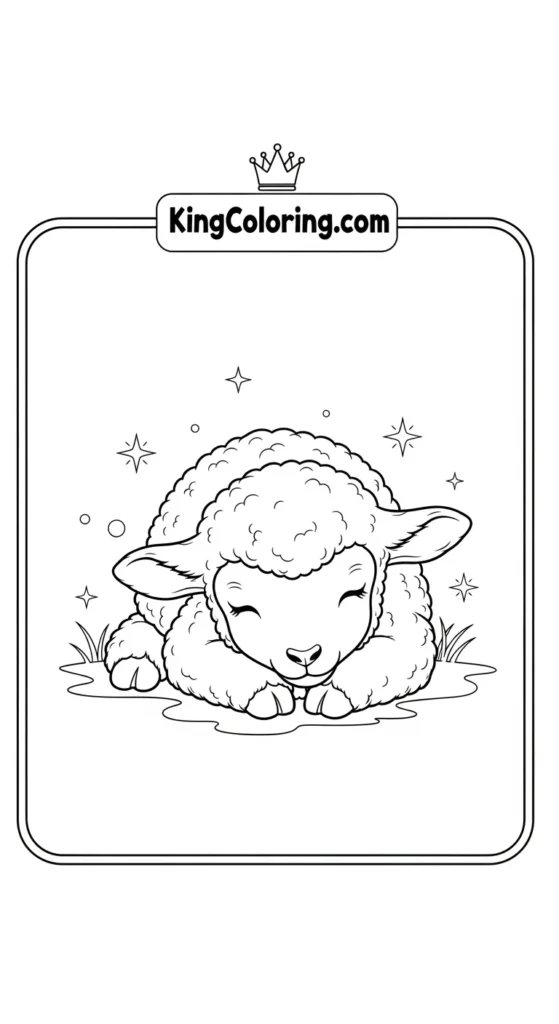

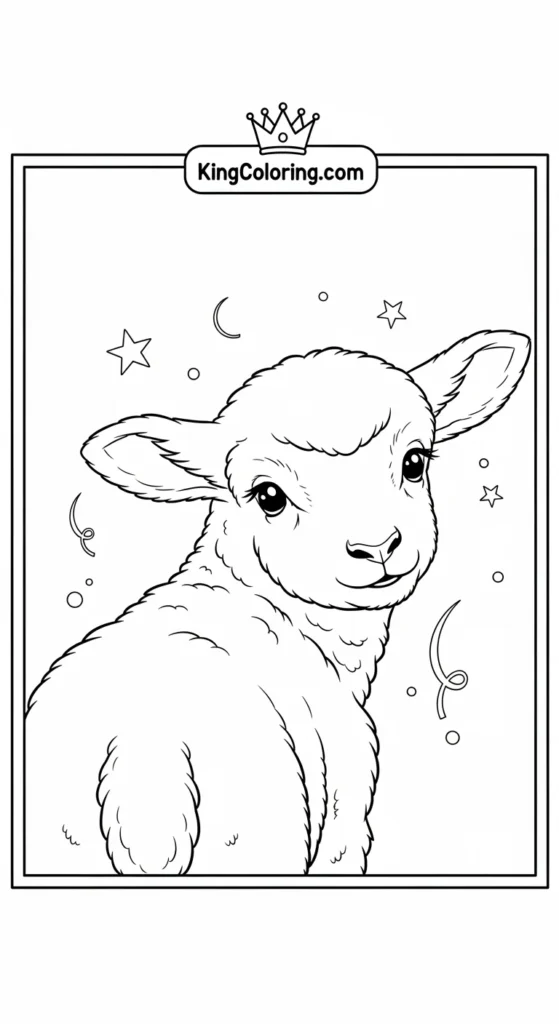
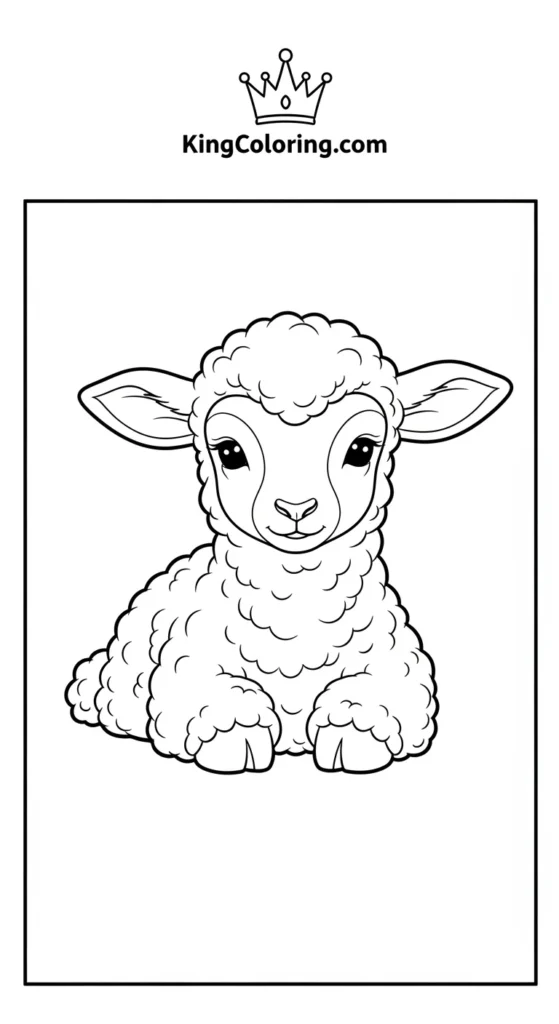
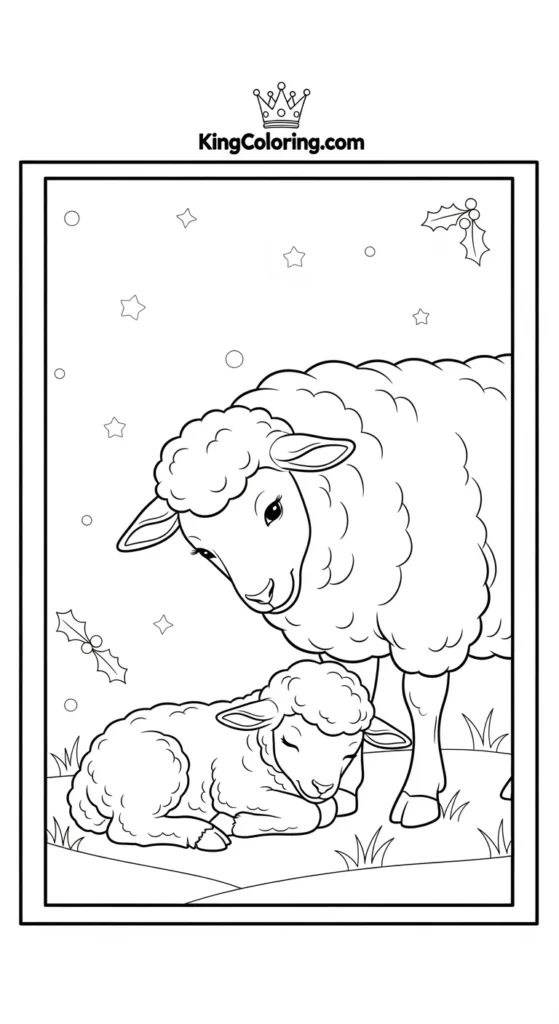
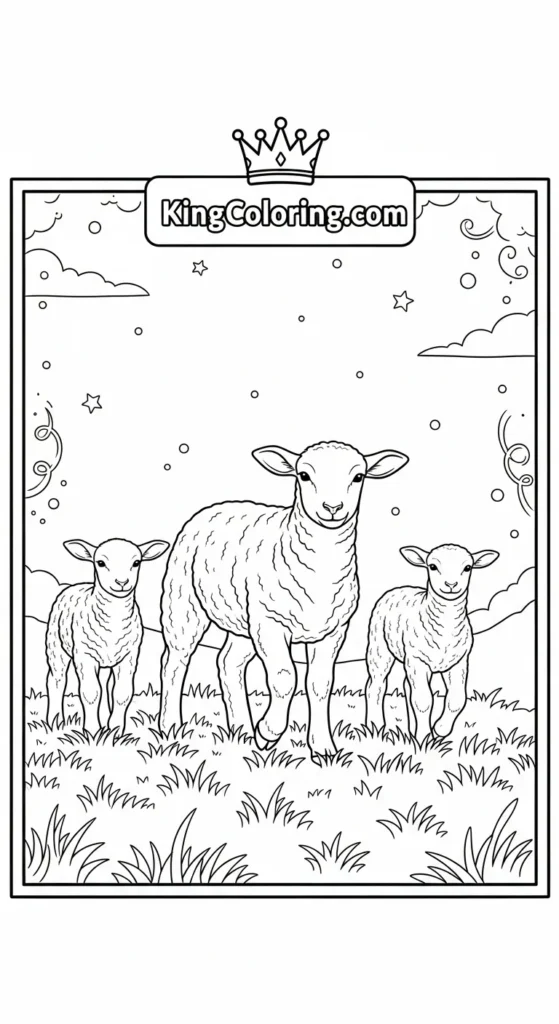
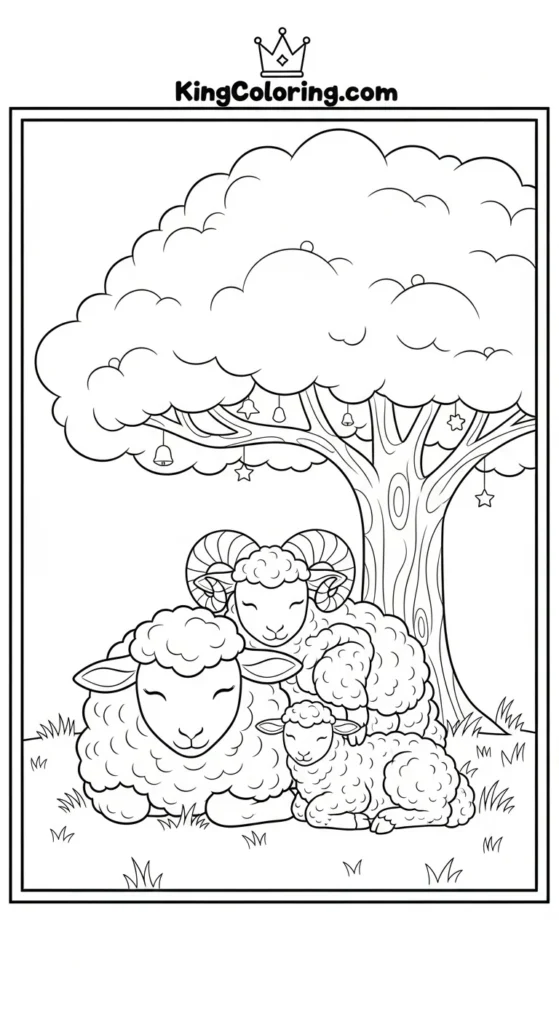
Table of Contents
Why a Realistic Lamb Coloring Page Demands Special Attention
It’s easy to treat a lamb coloring page like any other drawing—fill it with white, maybe some pink for the nose, and call it done. But lambs are all about texture. Their wool is unique, simultaneously soft and complex.
Focusing on a realistic printable forces us to slow down. It’s a wonderful exercise in mindfulness, teaching observation skills that go far beyond the page.
The True Color of Wool: It’s Not Just White
One of the biggest mistakes people make when coloring a lamb is reaching straight for pure white. While a lamb might look white, the reality is that the wool reflects the environment around it.
- Shadows: Shadows are rarely black or gray. They should incorporate hints of soft blues, lavenders, or warm taupes. This gives the wool dimension without making it look dirty.
- Highlights: Even the brightest parts aren’t pure white. Use a cream or the lightest gray pencil to define the body, saving pure white only for the final, brightest highlights.
- Ear and Nose Tones: These areas often require warm tones. Use muted rose or peach for the insides of the ears and a very pale brown or tan where the wool meets the skin.
Remember: Your goal is to make the lamb look soft and three-dimensional, not flat and cartoonish.
Mastering the Fleece: Techniques for Textured Wool
The secret to a stunning realistic lamb coloring page lies entirely in how you handle the wool texture. You can’t simply shade in broad, smooth strokes; you must mimic the curl and fluffiness of the fleece.
1. The Short-Stroke Technique
Instead of long, smooth lines, use short, quick, curved strokes that follow the natural direction of the wool growth. Think of it like drawing hundreds of tiny, closely-packed commas.
- Start with your lightest base color (cream or light gray).
- Use a slightly darker color (pale tan) to trace the contours and shading lines (under the neck, behind the legs).
- Layer the short strokes repeatedly, leaving small patches of the white paper untouched where the light would naturally hit. This creates the illusion of deep, fluffy wool.
2. Utilizing Directional Shading
The wool on a lamb doesn’t all go in one direction. Observing the reference image (or a real lamb!) shows that the wool clumps together in curls, especially around the face and legs.
Pro-Tip: Use a pencil with a very sharp point for the initial layers, allowing you to define the individual strands. For the final, fluffier layer, use a slightly duller pencil tip to create a broader, softer stroke that blends better.
3. Creating Depth with Burnishing
Burnishing is the technique of applying heavy pressure with a light-colored pencil (often white or a blender pencil) over your layered colors.
This smooths out the pencil marks, blends the colors beautifully, and most importantly, gives the illusion of volume. When you burnish the highlighted areas, the wool pops forward, enhancing the three-dimensional effect you worked so hard to achieve.
Fun Fact: Lamb’s wool is incredibly fine and often contains lanolin, which makes it soft and slightly water-resistant—a characteristic you can simulate in your coloring by making the highlights look slightly glossy!
Sophia’s Pro-Tips for Advanced Shading
I’ve spent countless hours with colored pencils, and I’ve found a few tricks that elevate any animal coloring page, especially one with complex texture like a lamb.
Tip 1: The Magic of the Indenting Tool
This is a game-changer for detailed wool. Before you even touch the paper with color, use a dull stylus, an empty ballpoint pen, or an embossing tool to lightly press tiny dots or lines onto the paper where you want the brightest white strands of wool to appear.
When you color over these indentations, the pigment will not stick, leaving behind perfect, sharp white hair lines. It’s fantastic for creating whiskers or individual stray fibers that give the coloring page a professional, realistic finish.
Tip 2: Don’t Underestimate the Background
A poorly colored background can make a perfectly colored lamb look amateur. For a realistic farm scene, consider soft, muted greens and blues.
- Foreground Blur: Use cross-hatching or very light, unfocused color application close to the lamb to simulate shallow depth of field.
- Creating Contrast: If your lamb is primarily white/cream, use a medium-dark green or brown for the field behind it. The contrast will force the light colors of the lamb to stand out, making the image pop off the paper. Strong contrast is key when coloring a predominantly light subject.
Tip 3: Blending Tools Are Your Best Friend
While many people use blending markers, I recommend odorless mineral spirits (OMS) or specialized colorless blender pencils for realistic work. These tools melt the wax or oil binder in your pencils, creating incredibly smooth gradients that mimic shadows perfectly. Use them sparingly, focusing only on the areas where deep shadow requires a flawless blend, like the underside of the belly or the deepest folds of the neck.
Beyond the Page: Turning Your Printable into a DIY Craft
Once you’ve finished coloring your beautiful lamb coloring page, why put it in a drawer? Let’s turn it into something memorable!
Here are two easy DIY projects that boost creativity and further the educational value of the printable:
1. The Cotton Ball Lamb Collage (For Younger Artists)
After coloring the basic outlines of your lamb, use glue to affix cotton balls, shredded yarn, or crumpled tissue paper onto the wool sections. This is a wonderful way to teach toddlers about texture while transforming a simple 2D drawing into a multi-media piece. It reinforces the fuzziness we discussed earlier!
2. Lamb Mobile or Garland
Carefully cut out your finished lamb printable. If you colored several lambs (perhaps a few different designs), punch small holes in the top. String them together with twine or ribbon and hang them near a window. This creates a charming spring or Easter decoration and celebrates the effort you put into the detailed coloring work.
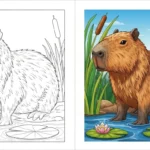
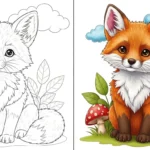
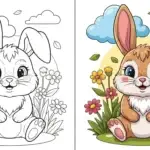
Discover a Wide Range of Animal Coloring Pages
Looking for more inspiration? Explore a diverse collection of animal coloring pages featuring many species, styles, and printable designs.
Embrace the Quiet Challenge
Coloring a realistic lamb coloring page is a commitment, but the payoff is immense. It moves the activity from passive filling to active creation. It requires patience, layering, and a willingness to see white as a spectrum of colors.
I hope these tips inspire you to pick up your pencils and truly explore the delightful texture of wool.
Happy coloring!